Live Chat's Welcome Message: Best Tips About Websites' Greetings
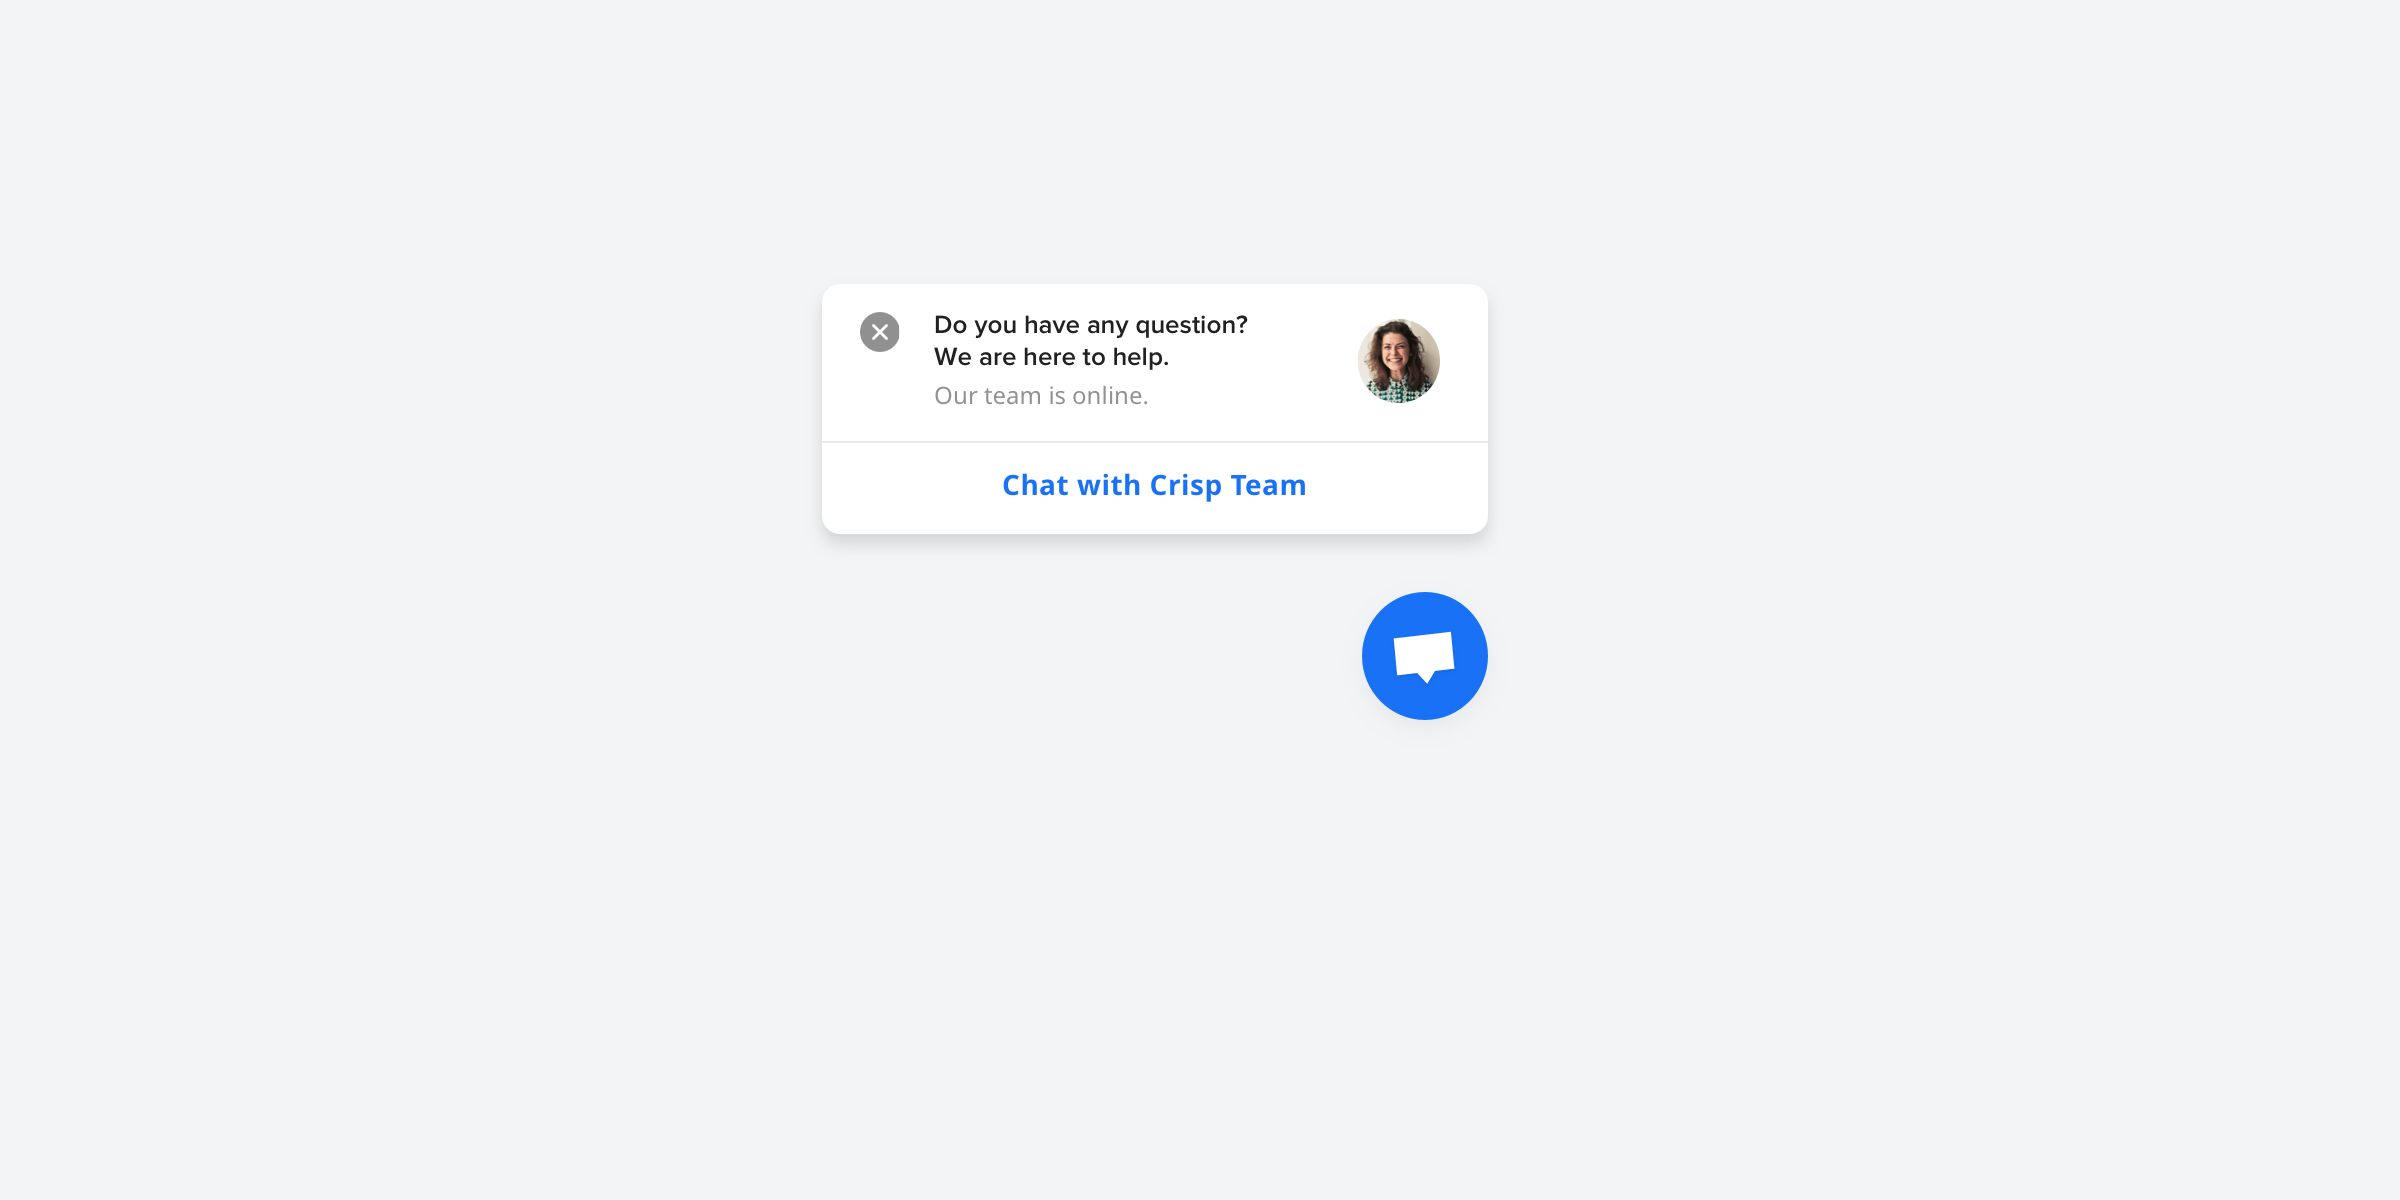
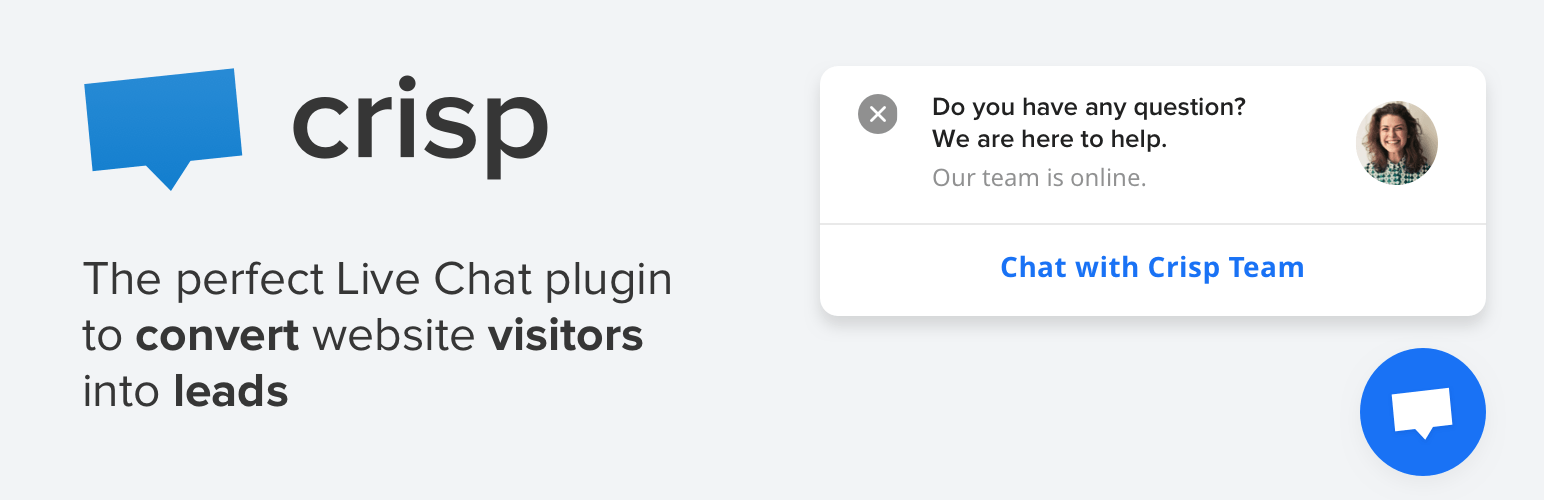
Greetings pop up on your site, encouraging visitors to talk to you. They are an online version of approaching a customer in a physical store and asking if any help is needed. You decide who, where and when will get invited.

As you implemented a brand new chat software on your website, you can now create a conversational experience with your websites visitors.
Greetings pop up on your site, encouraging visitors to talk to you. They are an online version of approaching a customer in a physical store and asking if any help is needed. You decide who, where, and when will get invited.
The fun fact is that while your potential customers are visiting your physical store, most of the time, when asking:"how can I help", they answer:"Nothing, thanks, just looking". That is totally wrong, everyone that comes into a store has an underlying buyer intent.
When you're getting started with Crisp, you have two options in terms of how you'd like to engage with your site visitors and customers - either proactively or reactively. Personalizing Live Chat welcome messages helps your company to create a better customer experience through a better contextualized messaging approach.
So the way you and your operators greet website visitors has a huge impact on your sales efficiency. Through this article, we will review different techniques that will make your customer happy to buy in your store.
Why you should set a welcome message that greets your customers on your website
- Get more chats – the more personalized and targeted your chat invitation is, the higher the possibility of chatting with visitors is.
2. Turn visitors into customers – visitors invited to chat are more likely to convert into customers than the ones who don’t chat.
3. Simplify customer support – your customer will leave your site happy and willing to return; they can tell their friends and colleagues about the great experience they had, gaining you some new visitors.
4. Sell more – the more chances you have to create a conversation, the higher number of buyers you will eventually get.
5. Generate empathy – The more you personalize, the better the experience is. Use the data you already have about your users.
6. Look familiar – Your customers will love to be treated as someone you already know.
How to customize Live Chat welcome message?
As discussed earlier, there are two strategies to build welcome messages: Proactive Messages and Reactive Messages.
Furthermore, modifying colors can be a big uplift in the number of conversations that are created every day with your customers/leads.
Why you should change the website chat colors?
Colors are big game changers regarding users' actions. That's why you should try to differentiate your live chat from your website's user interface.
It could help you to better engage with your audience as your live chat is much more visible.
For example, with Crisp, you can choose between these colors: Teal, Red, Purple, Pink, Orange, Indigo, Grey, Green Light, Green, Cyan, Brown, Blue(light), Blue Grey, Black, and Amber.
It lets you plenty of ways to differentiate yourself from your competitors by making your chat box much more visible.
With live chat customization, you ensure your ability to adapt your brand with your existing tools!
How to change the website chat's welcome message?
For example, with Crisp, there are many things to customize so that your welcome message gets much more punchy to the eyes of your customers.
First, let's have a look at what you can personalize regarding the chat box:
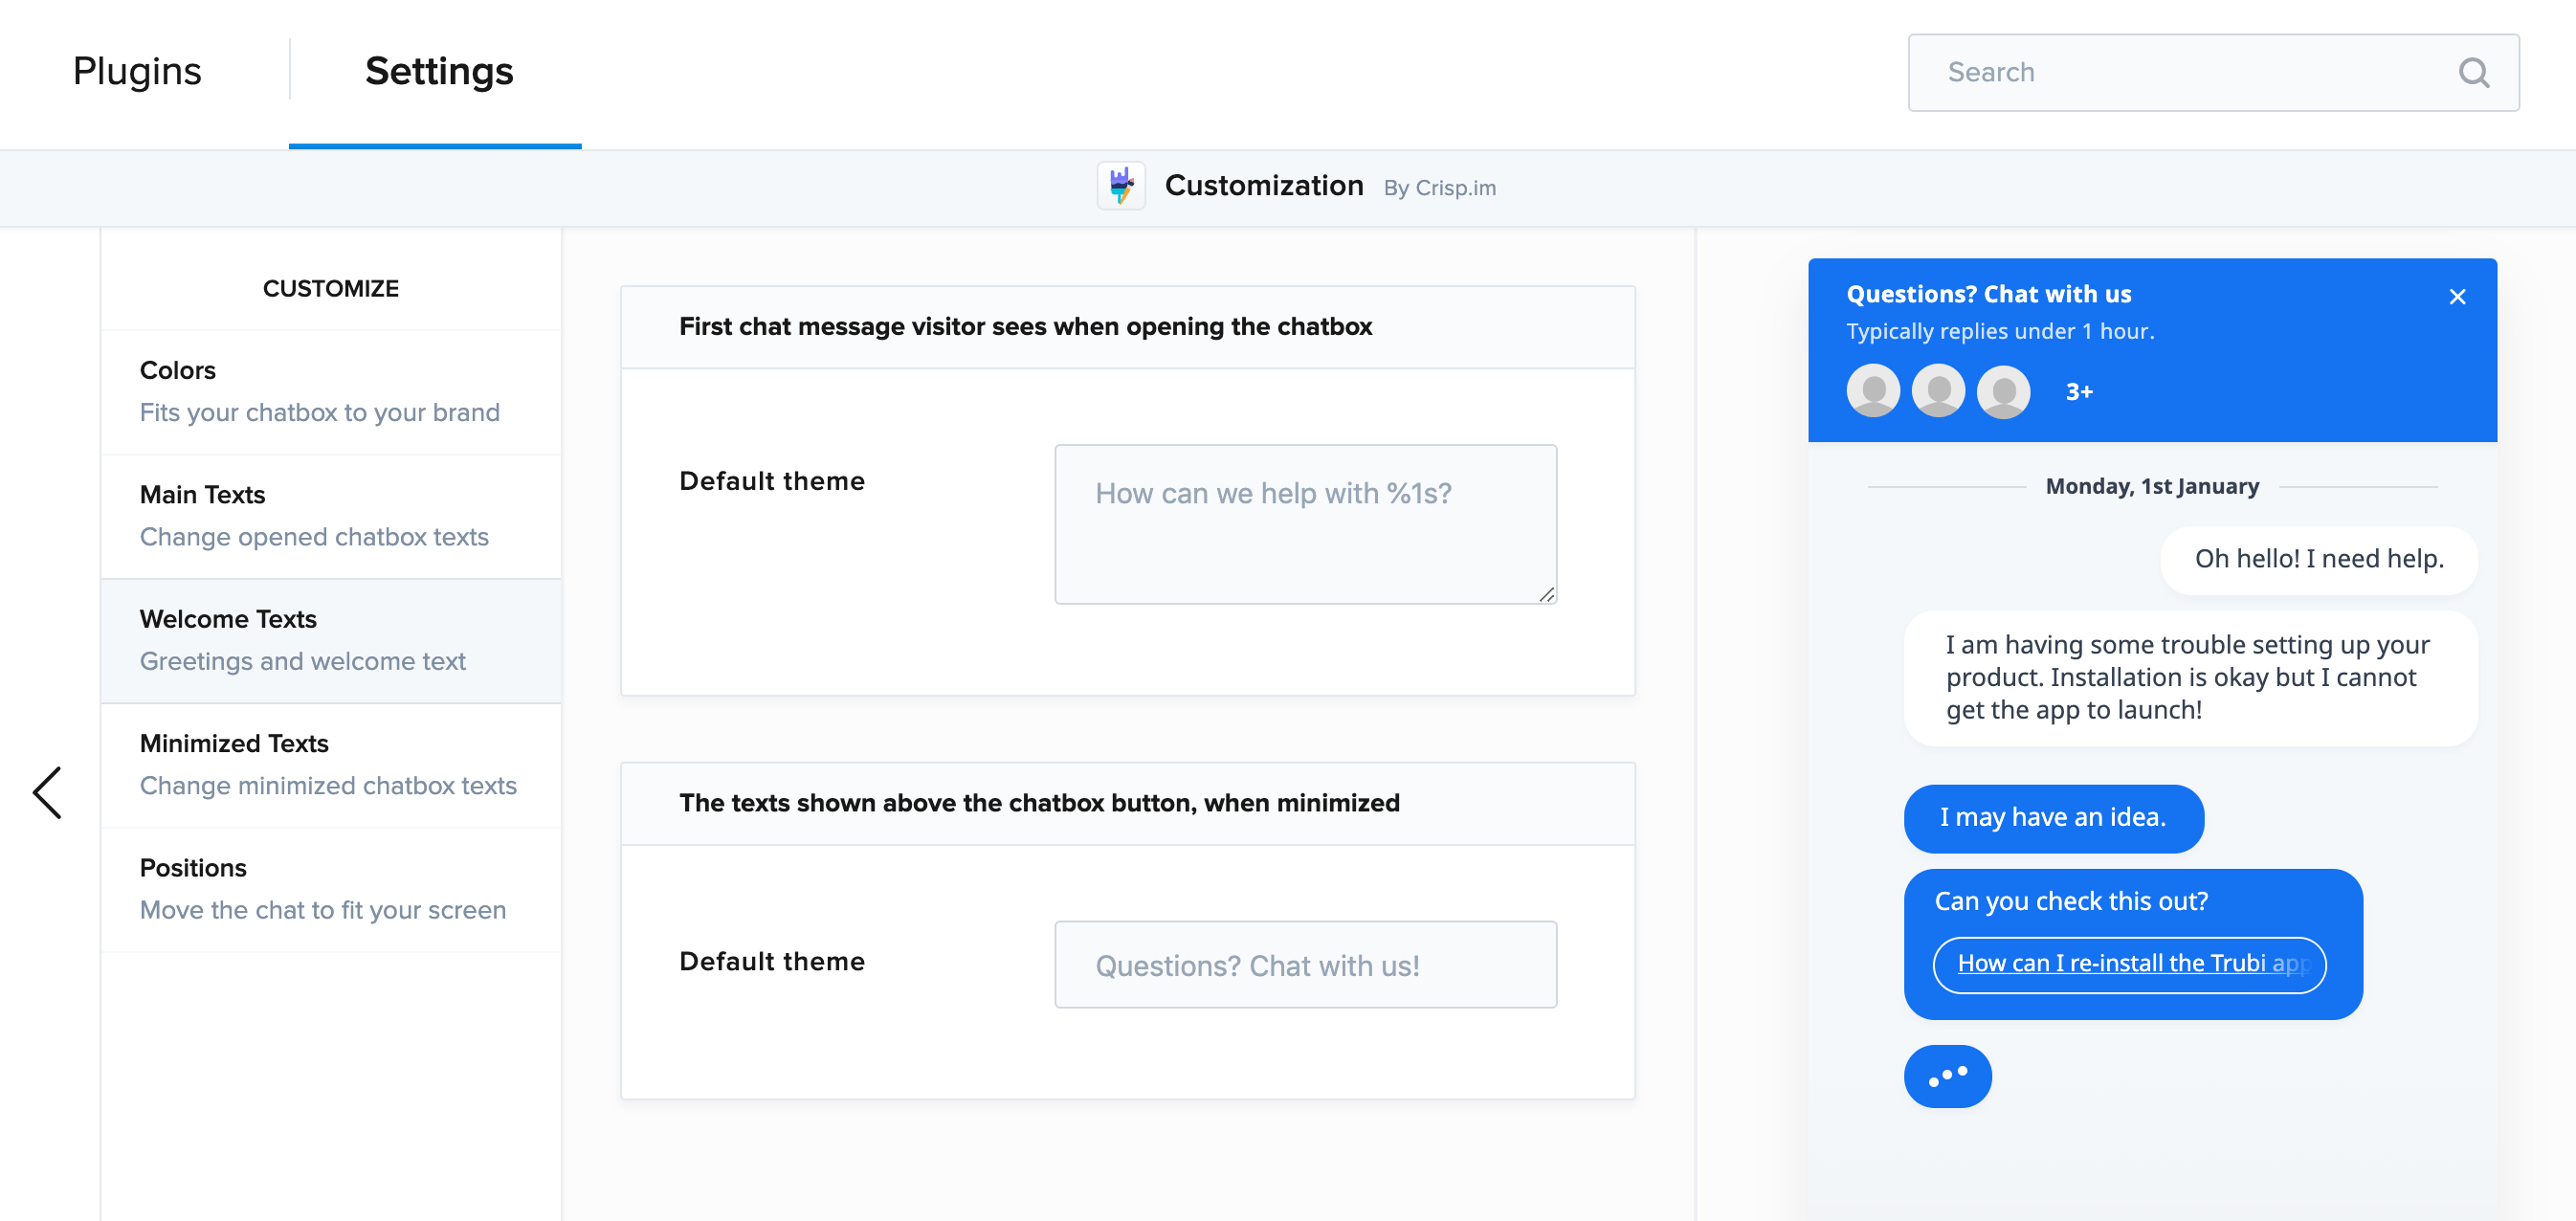
- First chat message visitor sees when opening the chat box
- The texts shown above the chat box button when minimized
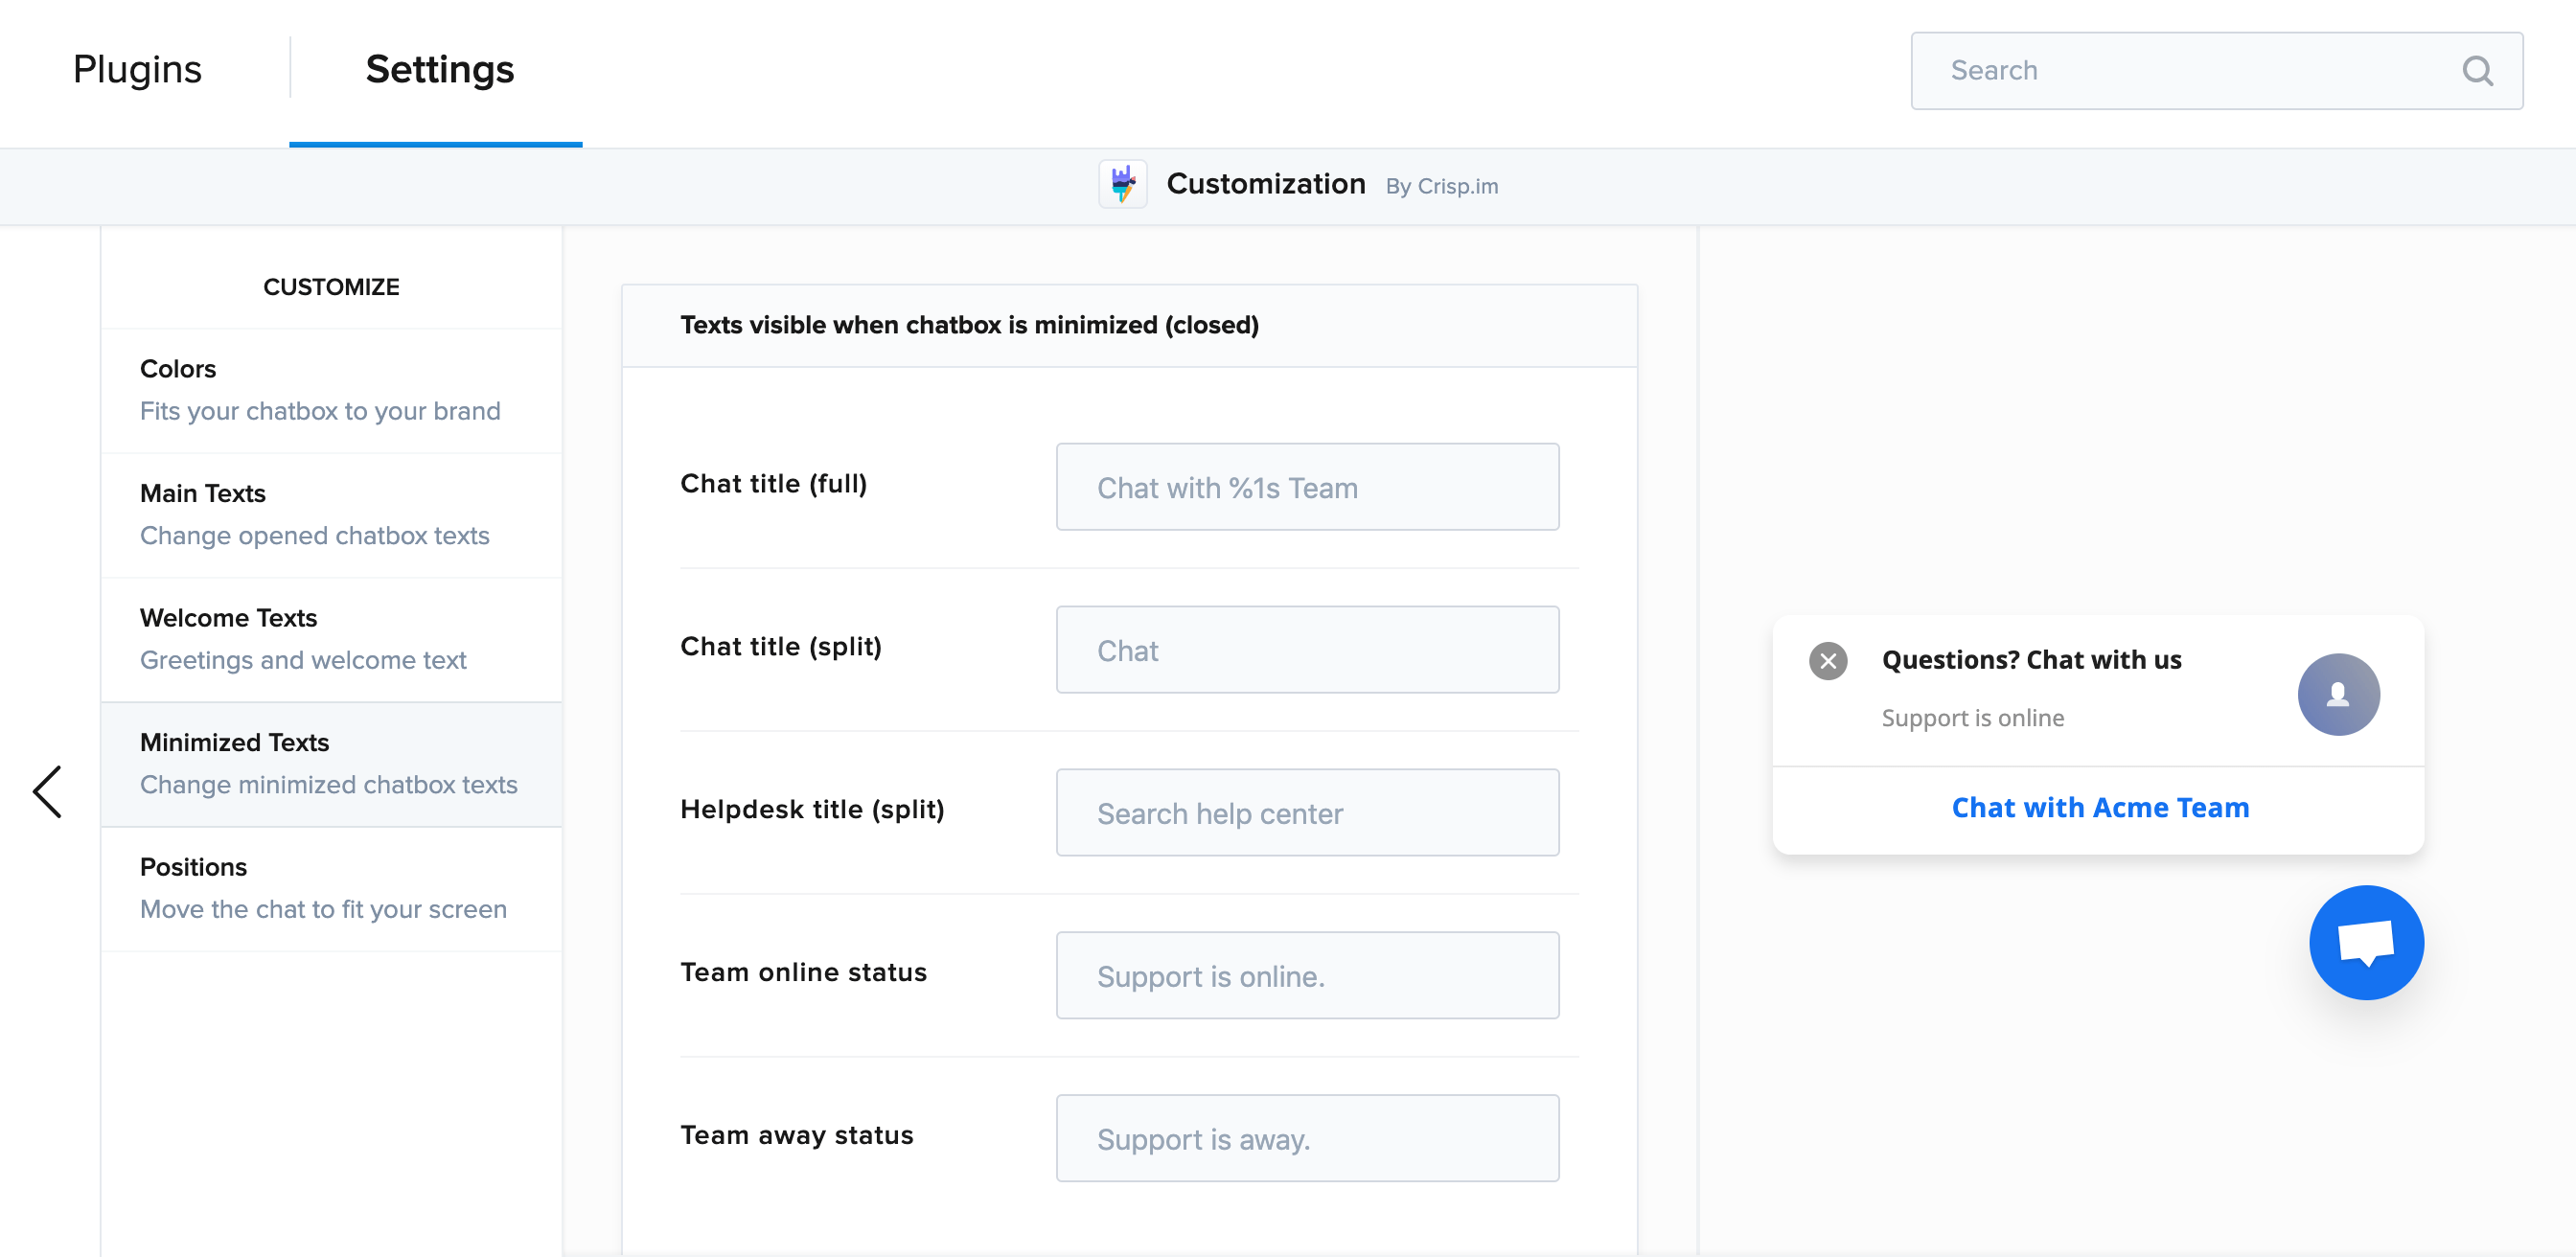
As you can see, your Live Chat offers many ways to customize the first message you are sending to your website visitors.
How to create a reactive Live Chat welcome message?
We've already written a great article on this, that reviews all the best practices regarding what we call "Triggers".
To get a full understanding, click here to have the best tips about live chat triggers.
Live Chat's welcome messages examples for your website
We consider live chat's greeting as the first message that is sent to your website's visitors.
By the way, if you're looking for a cool e-commerce website builder, Wizishop is a great place to get started.
We differentiate these ones from triggers that we only enable on returning visitors.
First Time visitors
- New Visitor: Hi, have you ever been here before?
- New Visitor: Hello! Welcome to <your business>, and thank you for visiting our site. How can we help you today?
- New Home page e-commerce visitors: Hi, are you happy browsing or do you need some assistance?
- New visitor on your service company: Hi, thinking about <the problem you solve> ? I’d be happy to answer any questions regarding <your company process>
- New Product Page e-commerce visitor: Hi, are you happy browsing or do you need some more information about <your product>?
- SaaS Company — First time visitor: Hi there! Welcome to [Your SaaS]. Are you looking to [key benefit, e.g. automate your workflows]? I'd love to help you get started with a free trial.
- SaaS Company — Pricing page visitor: It looks like you're exploring our plans. Have any questions about which plan fits your needs? Our team is here to help!
- Ecommerce & Online Store — Homepage visitor: Hello! Welcome to [Your Store]. Are you shopping for something specific today? We'd love to help you find the perfect product!
- Ecommerce & Online Store — Cart abandonment: Hi! I noticed you have items in your cart. Do you have any questions about your order, shipping, or need a discount code?
- Real Estate — First time visitor: Welcome! Are you looking to buy, rent, or sell a property? Our agents are ready to guide you through every step of the process.
- Real Estate — Property listing page visitor: Hello! Interested in this property? I can answer your questions about the neighborhood, schedule a visit, or help with financing options.
- FinTech — First time visitor: Hi! Welcome to [Your FinTech]. Whether you're looking to manage your money, invest smarter, or send payments, we're here to help. What brings you here today?
- FinTech — Signup page visitor: Hello! Creating an account takes less than 2 minutes. Need help with registration, or have questions about account security and compliance?
Personalizing welcome messages based on visitor origin
One of the most powerful — yet often overlooked — strategies in live chat is tailoring your welcome message depending on where your visitor is coming from. A user landing from a paid ad campaign has a completely different intent than someone who found you through a Google search or typed your URL directly. Adapting your greeting to that context can dramatically increase engagement and conversion rates.
Visitors from paid ads (Google Ads, Facebook Ads…)
Visitors coming from paid campaigns already know what they clicked on — they have high purchase intent. Your welcome message should reflect that and cut straight to the point, reinforcing the offer they just saw and creating a sense of urgency or personalization.
Visitor from a Google Ad for a 30-day free trial: Hi! We see you're interested in our 30-day free trial — great choice! Any questions before you get started?
Visitor from a Facebook Ad promoting a specific product: Hello! You just discovered [Product Name] — want to know how it works or get a special offer? We're here to help!
Visitors from organic traffic (SEO)
Organic visitors are often in a research phase. They found you by searching for a topic, so they may need more information before they make a decision. Your greeting should be educational and reassuring, offering to guide them rather than pushing a hard sell.
Organic visitor landing on a blog post: Hi! Glad you found our article. If you have any questions or want to learn more about how we can help, just drop us a message!
Organic visitor on a product/features page: Hello! Exploring your options? We'd love to help you understand if [Your Product] is the right fit for you. Ask us anything!
The impact on lead generation
Differentiating your welcome message based on traffic source can have a significant measurable impact on your lead generation. When a visitor from a paid campaign sees a message that directly echoes the ad they just clicked, it creates a consistent experience that builds trust and reduces drop-off. Studies consistently show that personalized chat invitations generate significantly higher engagement rates compared to generic greetings.
With Crisp, you can use UTM parameters to identify where your visitors are coming from and trigger different automated messages accordingly. For example, if a visitor lands on your site with utm_source=google&utm_medium=cpc, you can configure a trigger that fires a specific proactive message tailored to that campaign. This level of personalization helps you maximize the return on your ad spend while providing a better experience for every visitor — whether they arrive from an ad, a newsletter, a social post, or a simple Google search.
Bonus tip
How to track Crisp conversations in Google Analytics 4 (GA4) with Google Tag Manager
Google Analytics 4 (GA4) replaced Universal Analytics in 2023 and has a different event model. Here is how to track Crisp user interactions using Google Tag Manager (GTM) and GA4, based on our updated guide.
Step 1: Connect GTM to GA4. In your GTM workspace, create a new Tag, select "Google Analytics: GA4 Configuration", and enter your GA4 Measurement ID (found in your GA4 dashboard under Admin > Data Streams). Use the "Initialization - All Pages" trigger.
Step 2: Add Crisp Event Listeners via GTM. Create a new Custom HTML tag with the following code to listen for messages sent and chatbox opened events:
window.dataLayer = window.dataLayer || [];
dataLayer.push({
'event': 'CrispInteractions',
'event-label': 'message_sent'
});
}]);
$crisp.push(["on", "chat:opened", function(event){
window.dataLayer = window.dataLayer || [];
dataLayer.push({
'event': 'CrispInteractions',
'event-label': 'chatbox_opened'
});
}]);
Use "Page View - All Pages" as the trigger for the event listeners tag. Note that since GA4, event_category and event_action are no longer mandatory — the event-label parameter you define in the dataLayer is what will appear in your GA4 reports.
Step 3: Create a Custom Trigger. In GTM, go to Triggers > New > Trigger Configuration. Select "Custom Event" and set "CrispInteractions" as the Event Name (matching the 'event' key in the dataLayer push). This fires each time a Crisp event is tracked.
Step 4: Create a GA4 Event Tag. Create a new tag of type "Google Analytics: GA4 Event". Link it to your GA4 Configuration tag. Create a GTM Variable from the "event-label" dataLayer key and use it as the Event Name. Connect your custom trigger from Step 3 and publish your workspace.

Automating Email Responses With AI: From Inbox Chaos to Smart Replies
Email is still the backbone of customer support. See how AI helps to reduce the email ticket backlog thanks to automated workflows.


Automating Instagram DMs and Social Media Support With AI
Companies should connect as many channels as possible to their omnichannel Chatbot. This articles explains how to automate social media support with AI for your business.

Reduce Subscription Churn: Why Support Speed Is Your Highest-Leverage Retention Tool
Churn is a nightmare for SaaS companies. This article explains how support can help solve a part of the equation and improve retention.